When you first connect your iOS device you need to register it. In this video you will see how this is done on an iPod. Once your computer and device are paired you can download content (apps, music, podcasts and more) through the device or though the computer. Synchronizing pairs the content.
Create Apple ID – no credit card
Just getting started with a iOS device – in this case an iPad. At some point in the process you need to create an Apple ID. This video shows how you can register for an ID in the process of downloading an App.
Register for Evernote
In order to use Evernote on your computer, iOS device and Evernote web portal, you need to create an account and download the software on your devices. Here you will learn how.
Sorry – I had trouble with the audio until halfway through the video.
Session 4 – Browsers, Skype, iMovie
A web browser is a software application for retrieving, presenting, and traversing information resources on the World Wide Web.
I am going to show you 3 different browser:
- Firefox
- Safari
- Chrome
I am going to use Firefox to show you some general features of a web browser:
Here is the Menu for Firefox, showing your choices for viewing:
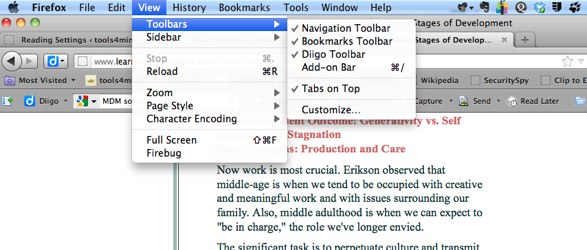
We will take some time to explore the Navigation Toolbar and the Bookmarks Toolbar. In order to see what these toolbars provide, check and uncheck them to see what happens.
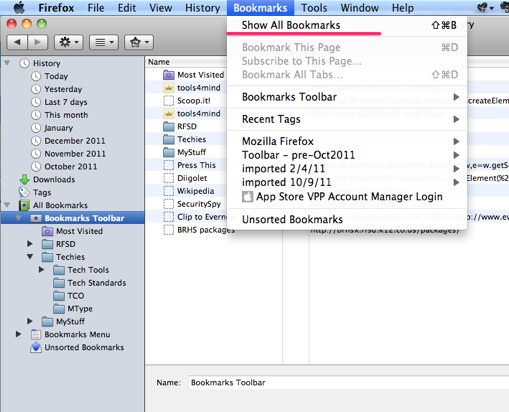
Here is the Bookmark Toolbar
![]()
This is what you will see when you select “Show All Bookmarks”. In this mode you can organize and understand how bookmarks are changed. We will explore this in depth
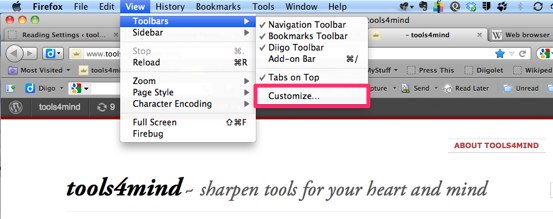
Here is the Navigation Toolbar
![]()
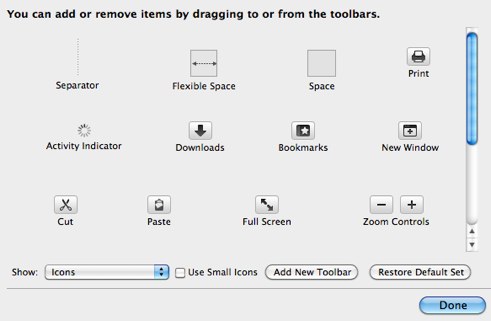
You can customize this toolbar by going to Toolbars -> Customize
We will play with all of these options:
iPhoto – organize pictures
Last night we spend some time organizing files (using the Finder) and photos (using iPhoto). In both cases I emphasized the importance of knowing what you want to move and where you want to put it. Knowing this you can open the proper windows with the files (that you want to move) and the folder (that is the target for the move).
This morning I found this video describing how to organize photos in iPhoto. I think it illustrates what we did. Notice that the author goes one step further by creating a folder and moving his albums into folders.
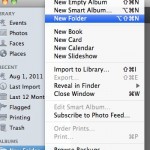
This could be helpful once you create many albums and want to organize them into manageable categories. – Happy Viewing
